Xcode Model Preview Types
After converting models to the Core ML format, you can set up the Xcode preview of certain models by adding preview metadata and parameters.
Overview
The following table shows the types of models that work with the Xcode preview feature, and the preview metadata and parameters you need to provide.
Note
Some model architecture types, such as Neural Network Classifier, don't require a
model.preview.type, and some model preview types don't require preview parameters.
| Architecture/Preview type | model.preview.type | model.preview.parameters | Input | Output |
|---|---|---|---|---|
| Segmentation | imageSegmenter | {'labels': ['LABEL', ...], 'colors': ['HEXCODE', ...]} | Image | MultiArray |
| BERT QA | bertQA | MultiArray | MultiArray | |
| Pose Estimation | poseEstimation | {"width_multiplier": FLOAT, "output_stride": INT} | Image | MultiArray |
| Image Classifier | Image | Dict, string | ||
| Depth Estimation | depthEstimation | Image | MultiArray |
Segmentation Example
The following example demonstrates how to add an Xcode preview for a segmentation model. Follow these steps:
- Load the converted model.
- Set up the parameters. This example collects them in
labels_json. - Define the
model.preview.typemetadata as"imageSegmenter". - Define the
model.preview.parametersaslabels_json. - Save the model.
# load the model
mlmodel = ct.models.MLModel("SegmentationModel_no_metadata.mlmodel")

labels_json = {"labels": ["background", "aeroplane", "bicycle", "bird", "board", "bottle", "bus", "car", "cat", "chair", "cow", "diningTable", "dog", "horse", "motorbike", "person", "pottedPlant", "sheep", "sofa", "train", "tvOrMonitor"]}

mlmodel.user_defined_metadata["com.apple.coreml.model.preview.type"] = "imageSegmenter"
mlmodel.user_defined_metadata['com.apple.coreml.model.preview.params'] = json.dumps(labels_json)

mlmodel.save("SegmentationModel_with_metadata.mlmodel")
Note
For the full code to convert the model, see Converting a PyTorch Segmentation Model.
Open the Model in Xcode
To launch Xcode and open the model information pane, double-click the saved SegmentationModel_with_metadata.mlmodel file in the Mac Finder.
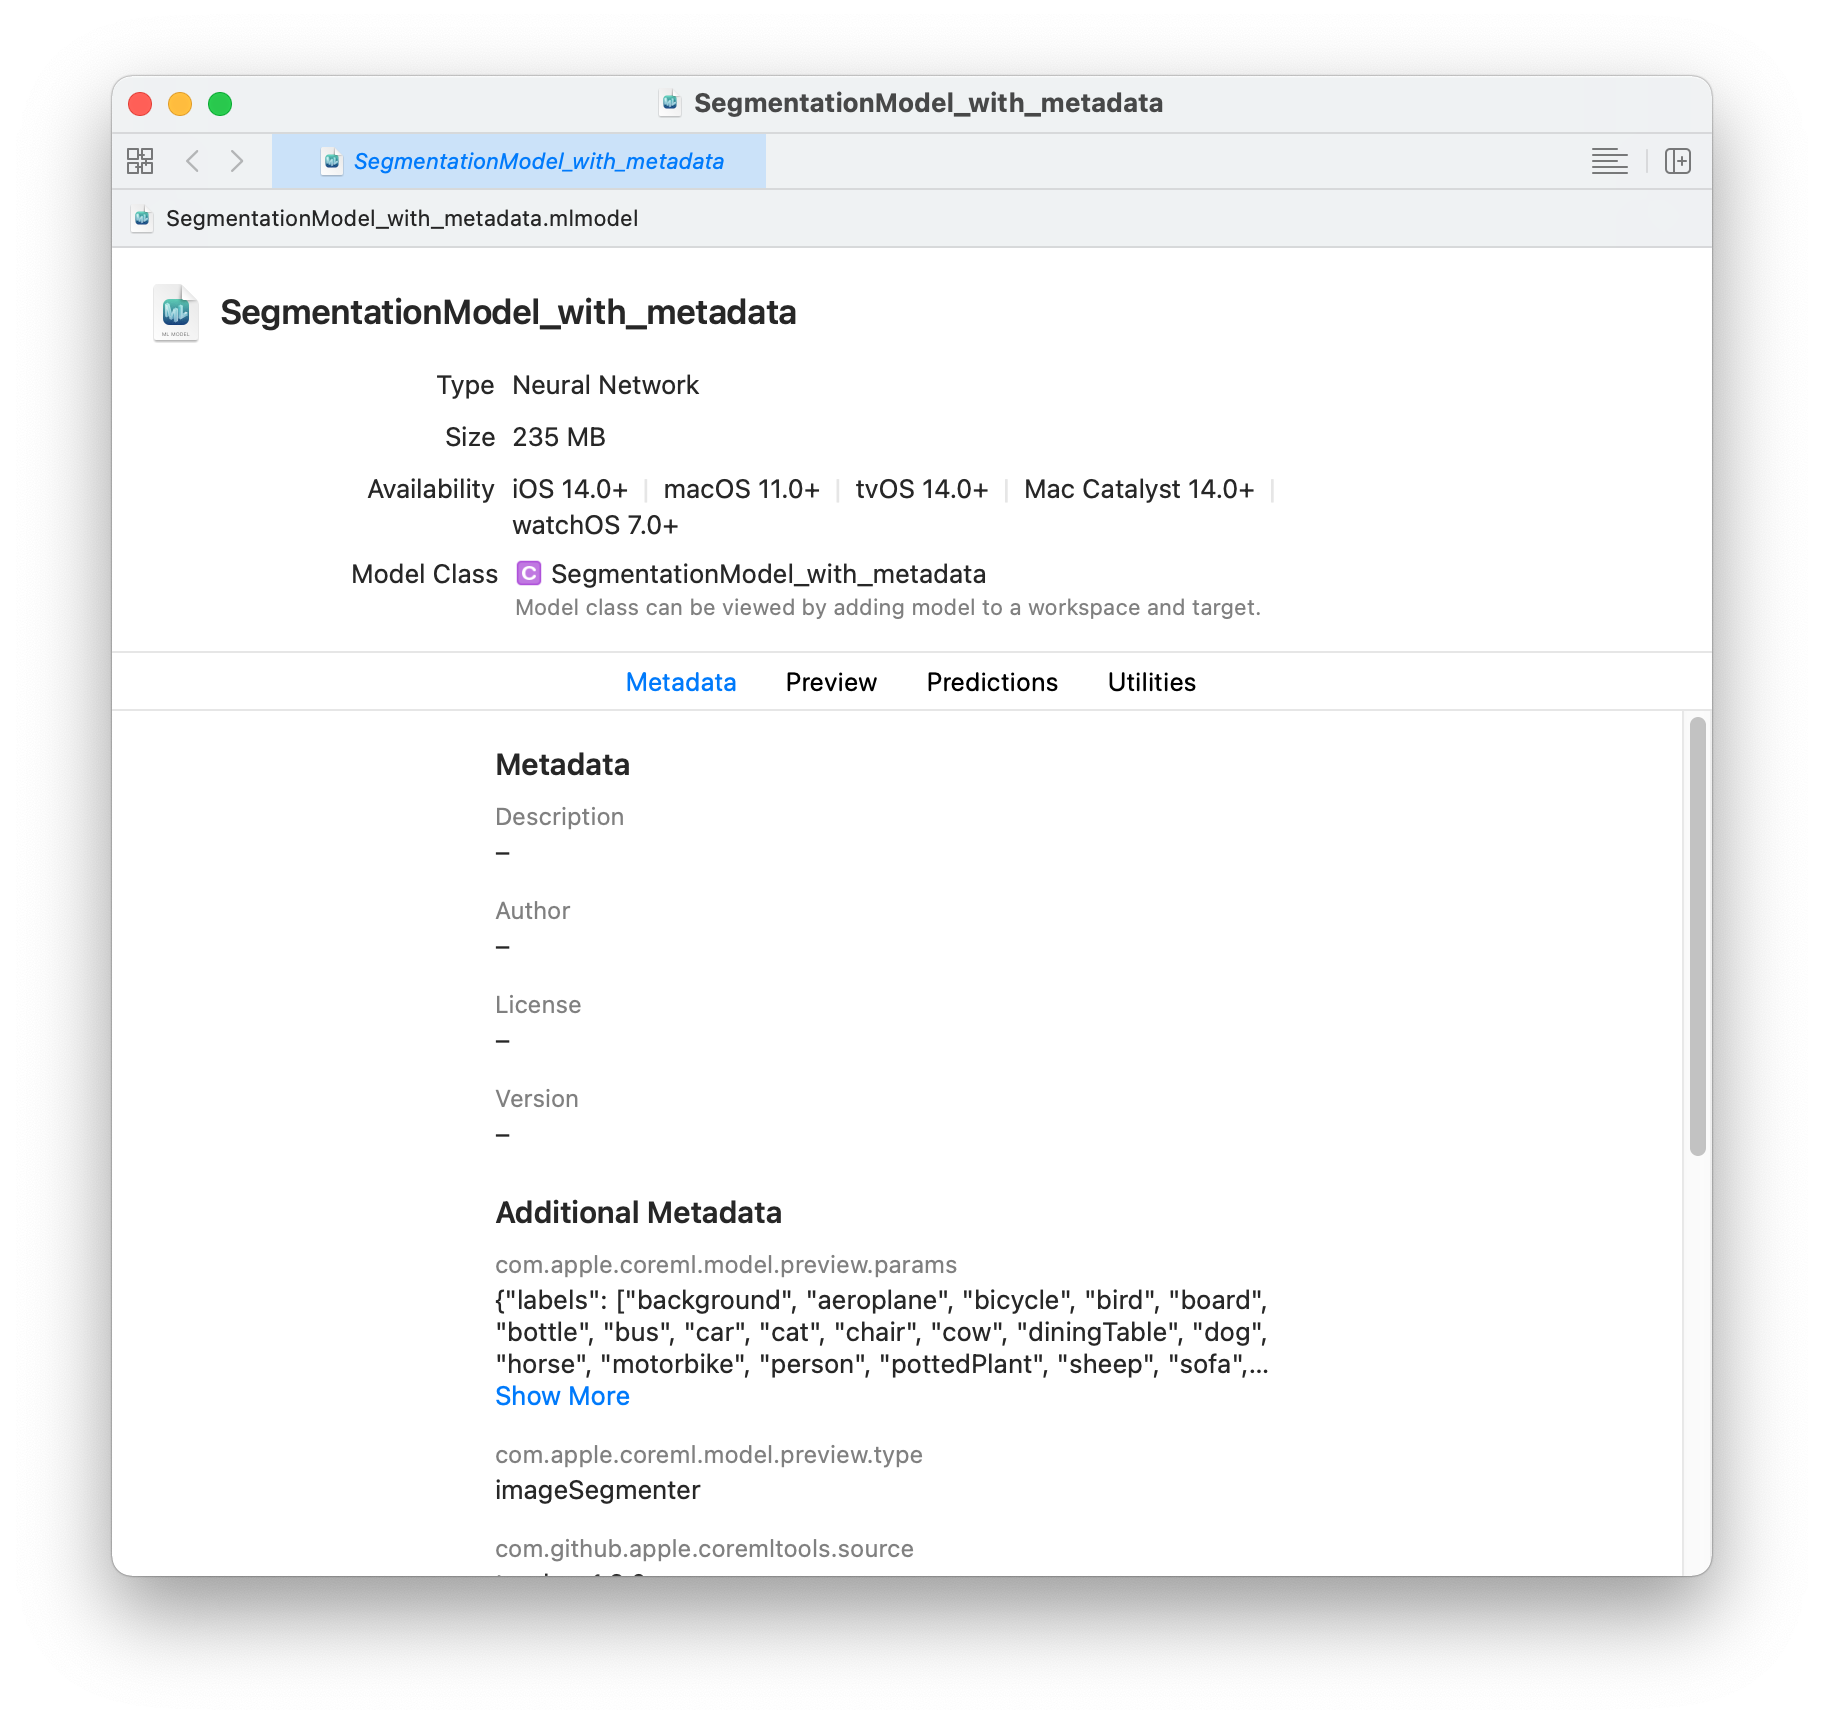
The Segmentation model for this example offers tabs for Metadata, Preview, Predictions, and Utilities. Click the Predictions tab to see the model’s input and output.

Preview the Model in Xcode
To preview the model’s output for a given input, follow these steps:
Note
The preview for a segmentation model is available in Xcode 12.3 or newer.
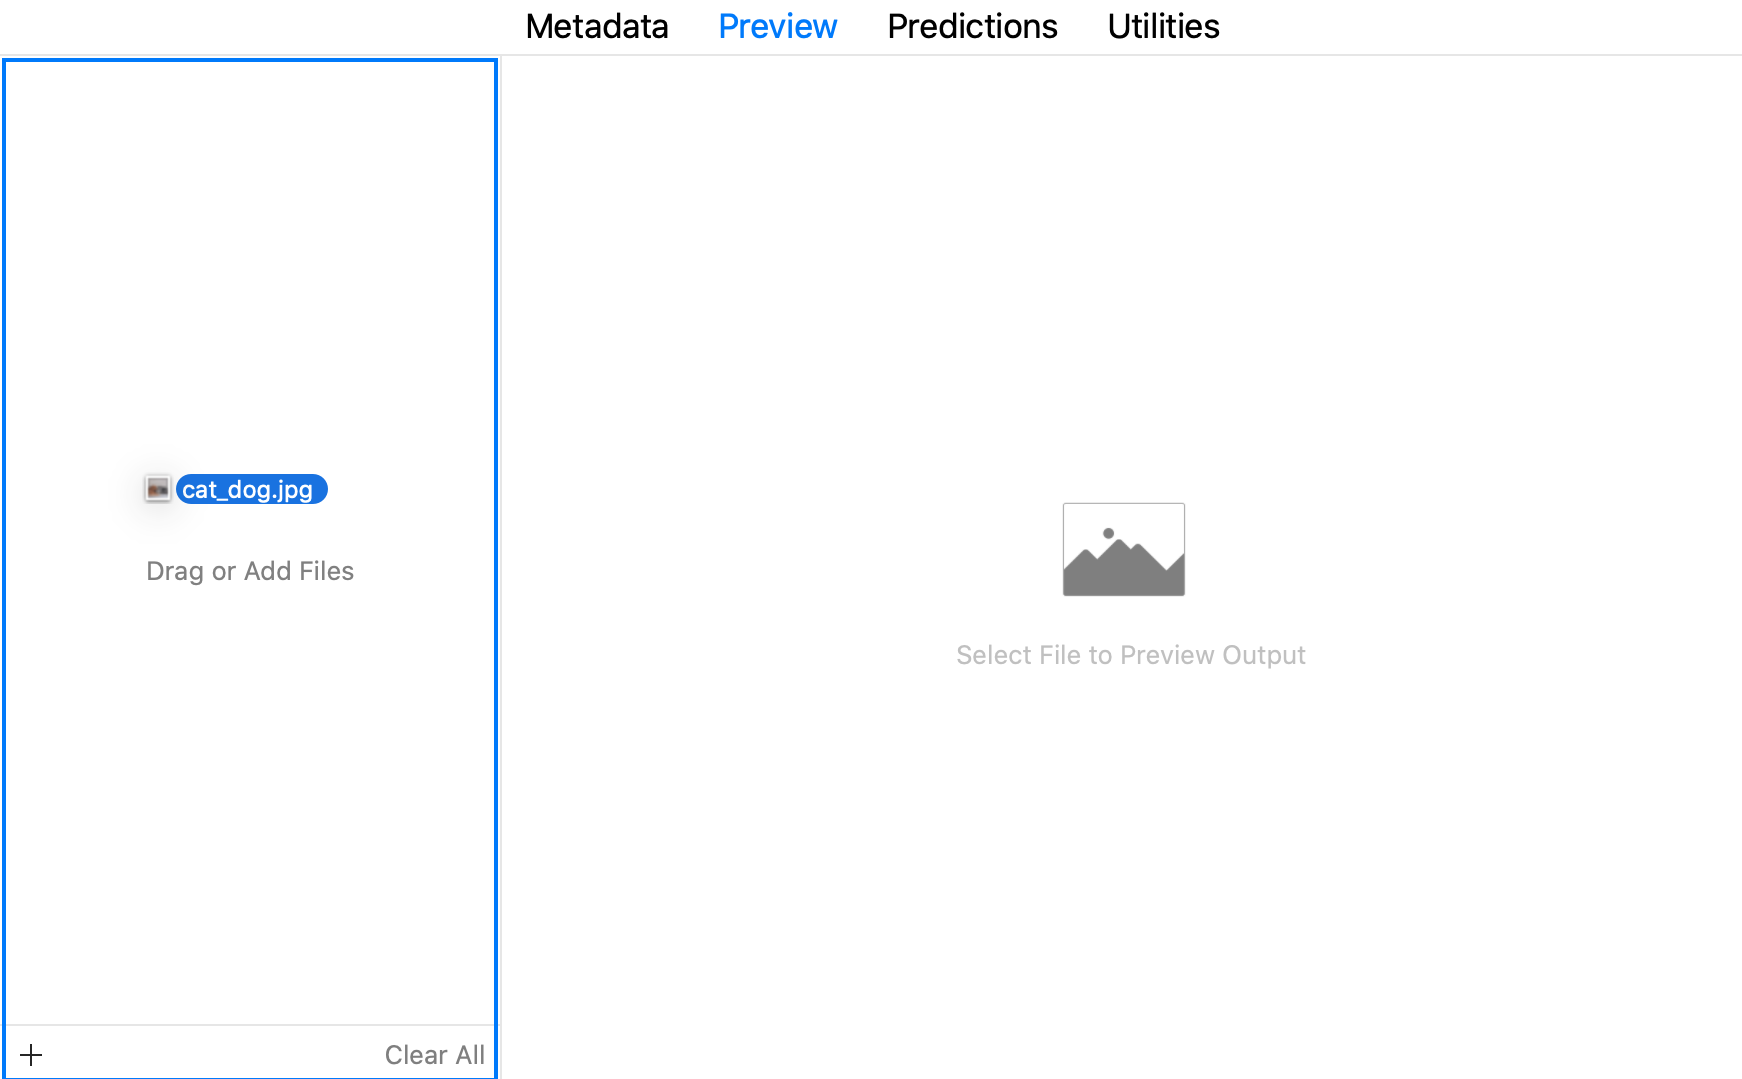
- Click the Preview tab.
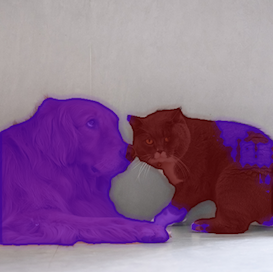
- Drag an image into the image well on the left side of the model preview. The result appears in the preview pane.
Note
For the full code to convert the model, see Converting a PyTorch Segmentation Model.
BERT QA Example
For a BERT QA model, follow these steps to add the metadata for the Xcode preview:
- Load the converted model.
- Define the
model.preview.typemetadata as"bertqa". - Save the model.
model = ct.models.MLModel("BERT_no_preview_type.mlmodel")
model.user_defined_metadata["com.apple.coreml.model.preview.type"] = "bertQA"
model.save("BERT_with_preview_type.mlmodel")
Open the Model in Xcode
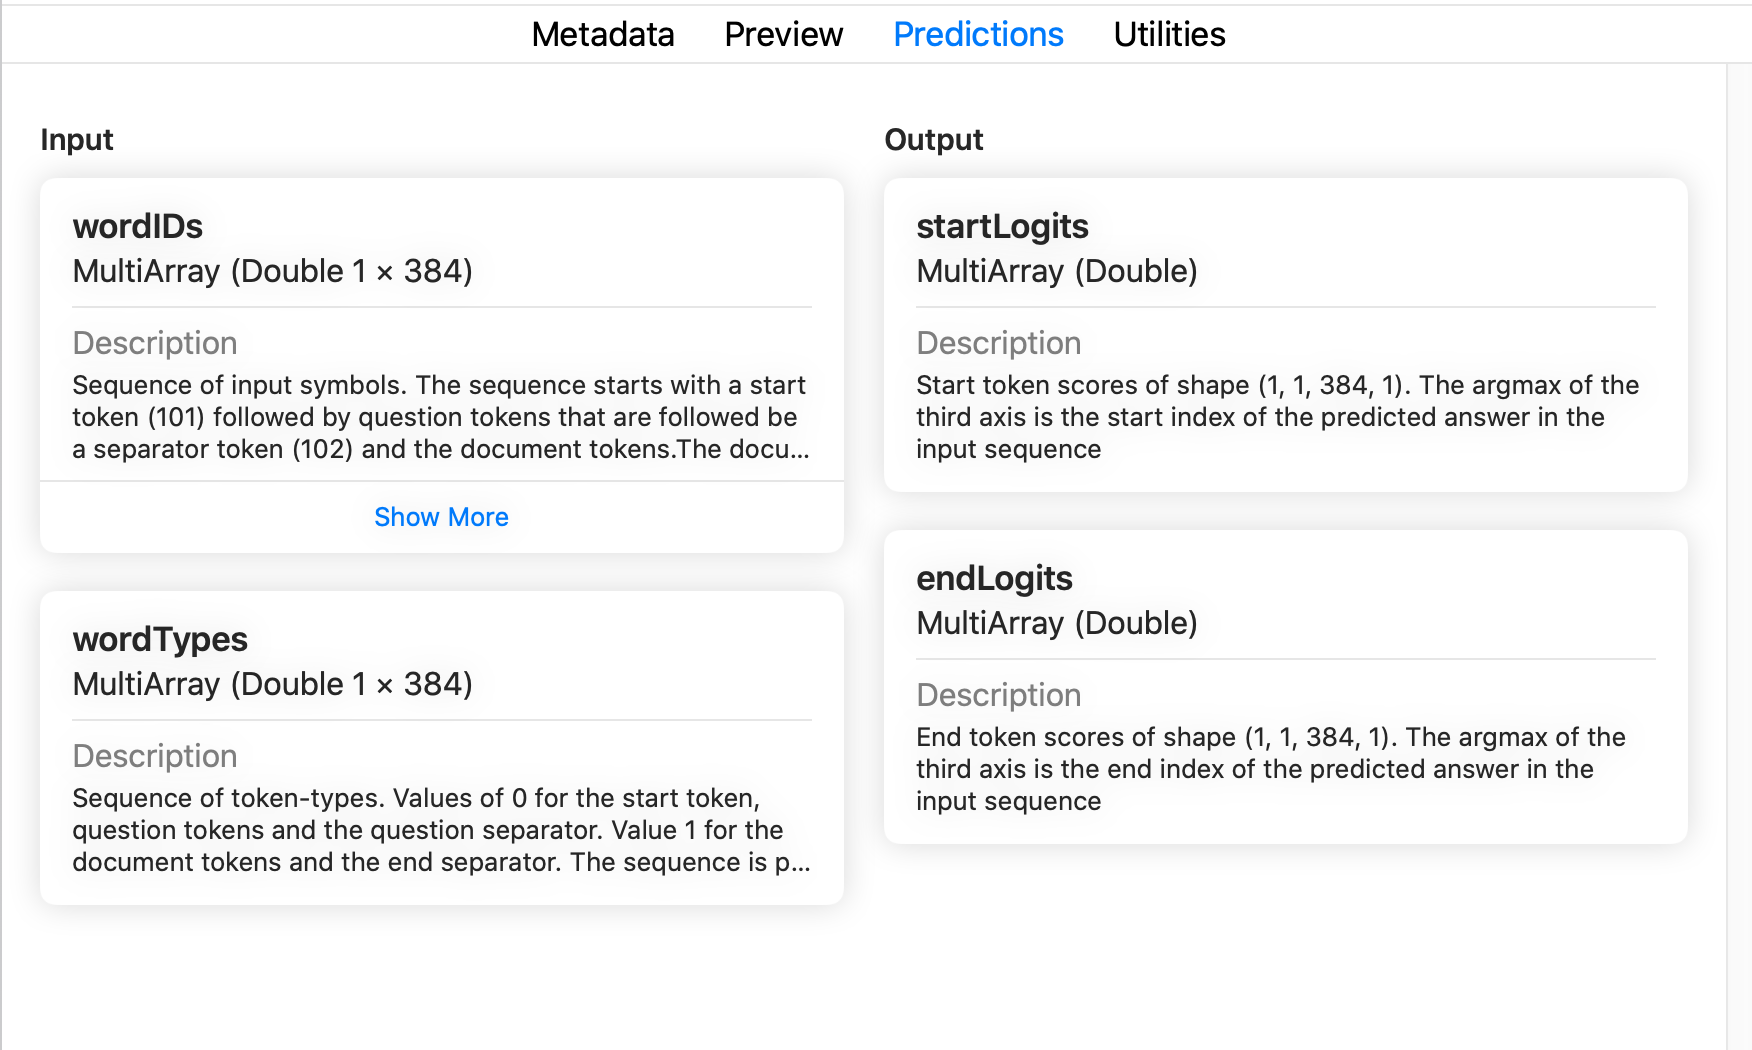
Double-click the BERT_with_preview_type.mlmodel file in the Mac Finder to launch Xcode and open the model information pane:
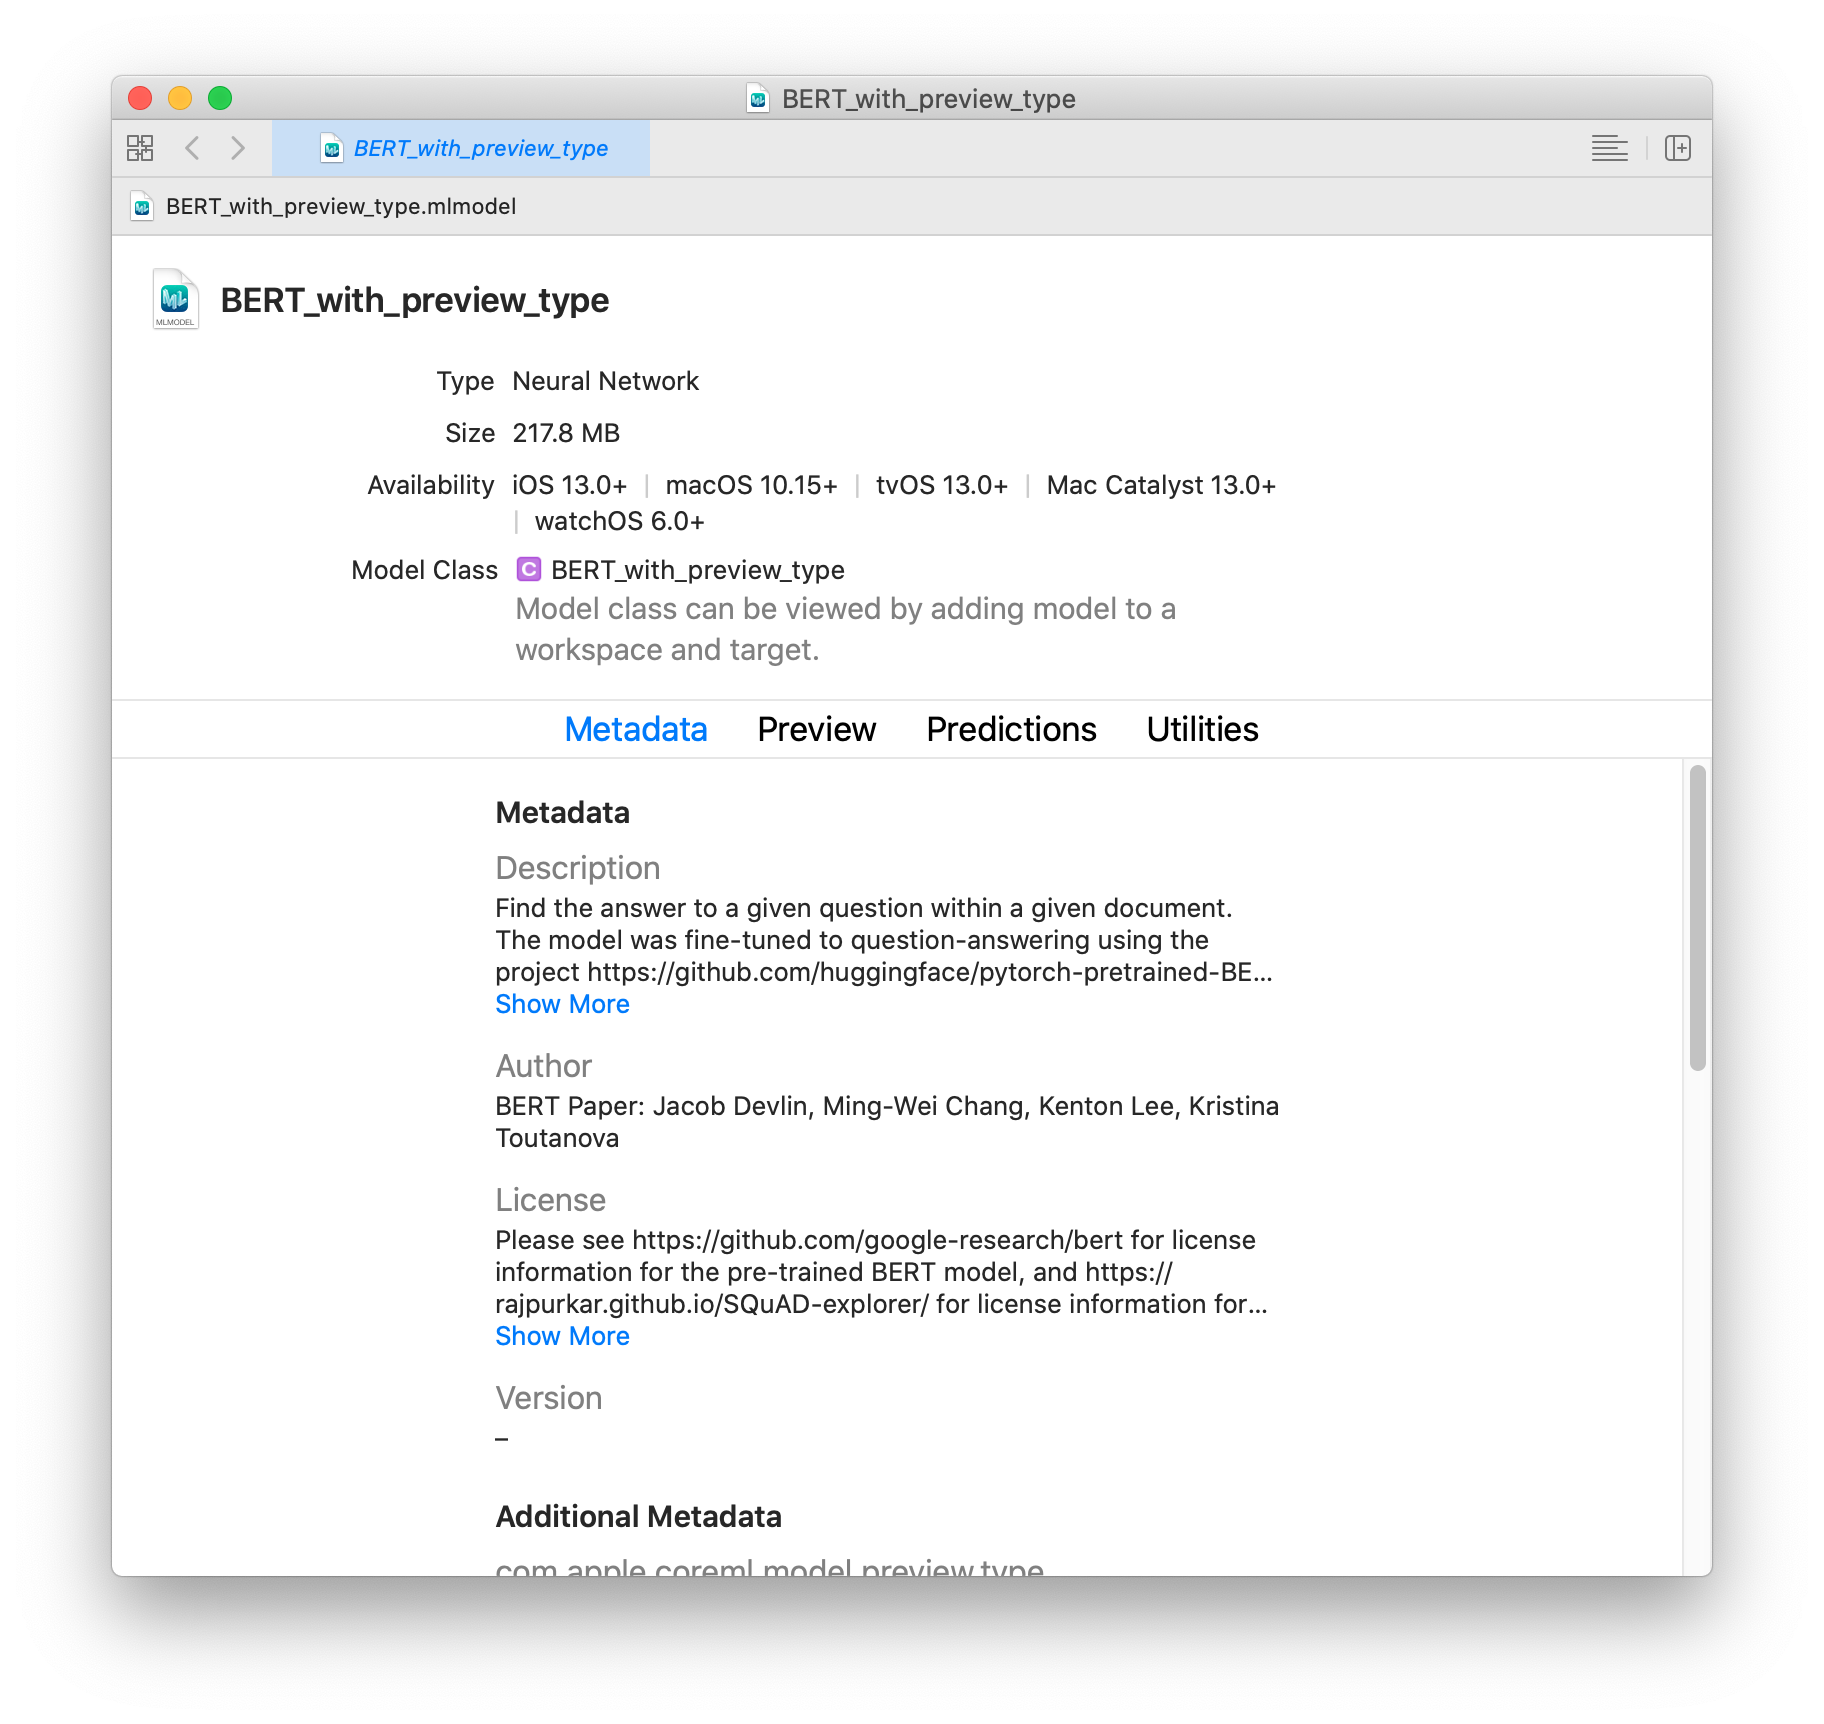
The BERT QA model for this example offers tabs for Metadata, Preview, Predictions, and Utilities. Click the Predictions tab to see the model’s input and output.
Preview the Model in Xcode
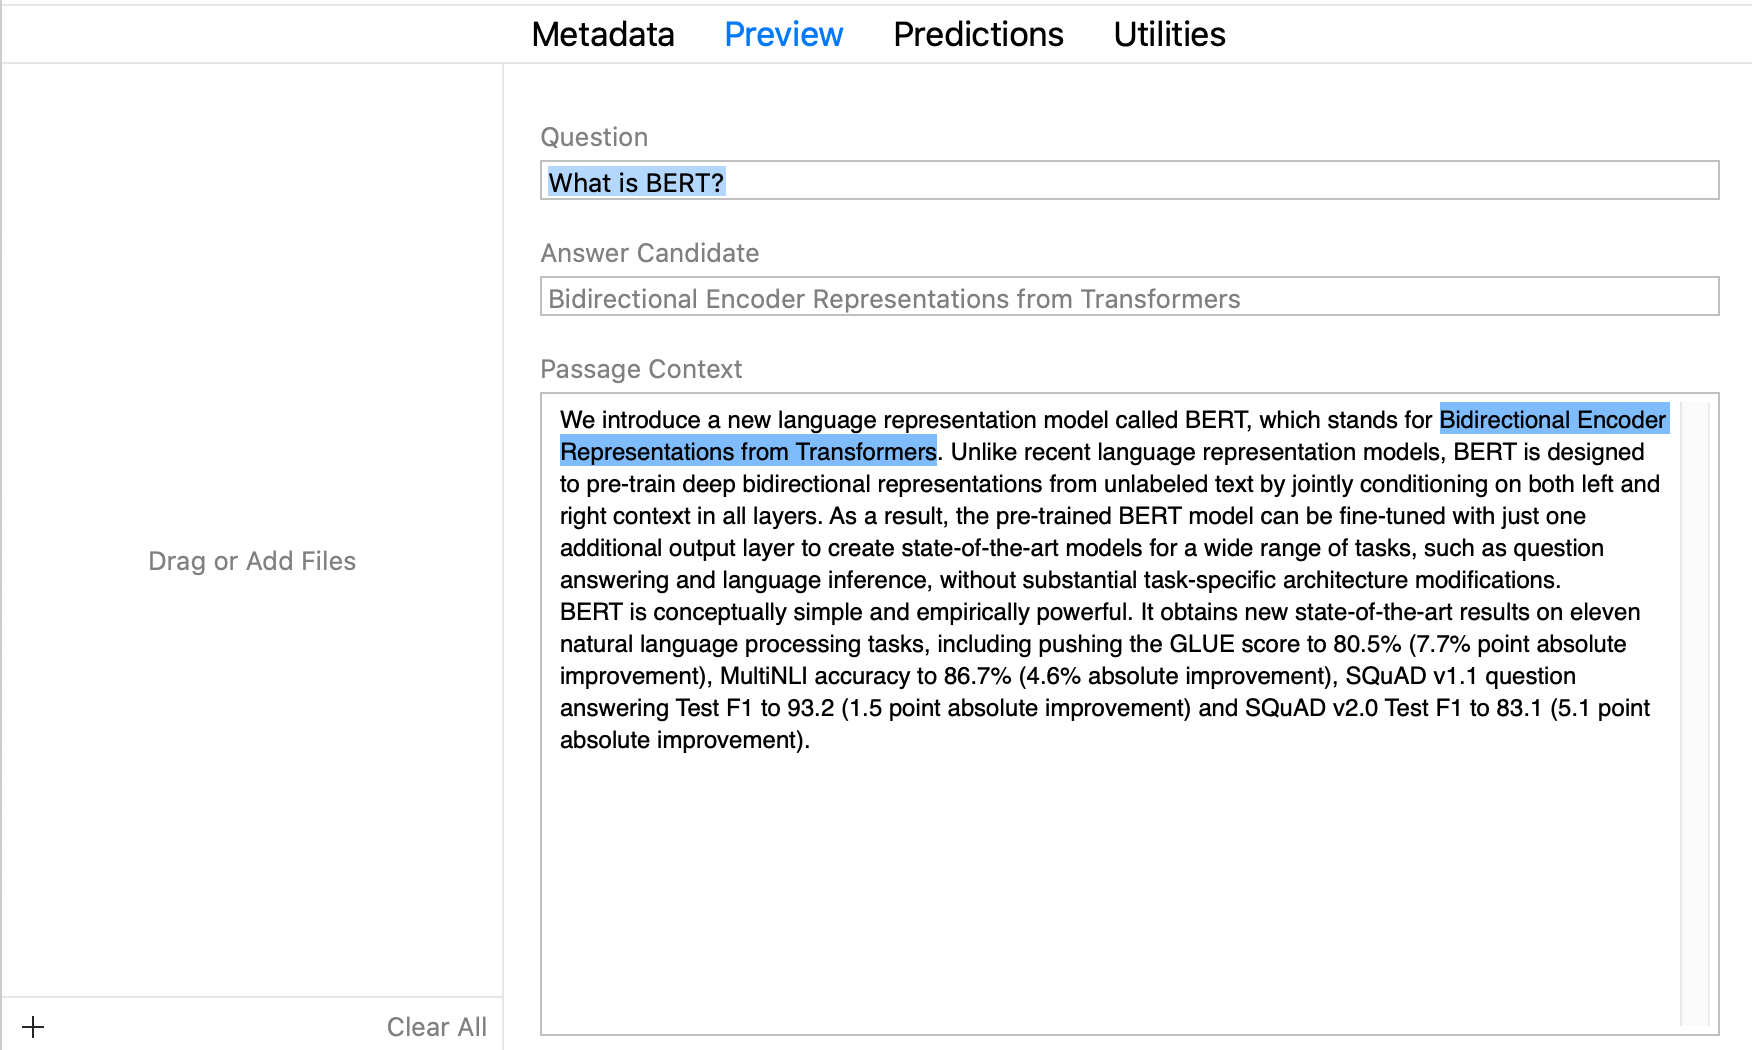
To preview the model’s performance, follow these steps:
- Click the Preview tab.
- Copy and paste sample text, such as the BERT QA model description, into the Passage Context field.
- Enter a question in the Question field, such as What is BERT? The answer appears in the Answer Candidate field, and is also highlighted in the Passage Context field.
Body Pose Example
For a body pose model such as PoseNet, follow these steps to add the metadata for an Xcode preview:
- Load the converted model.
- Define the
model.preview.typemetadata as"poseEstimation". - Provide the preview parameters for
{"width_multiplier": FLOAT, "output_stride": INT}. You can learn more about these parameters in posenet_model.ts in Pre-trained TensorFlow.js models on GitHub. - Save the model.
model = ct.models.MLModel("posenet_no_preview_type.mlmodel")
model.user_defined_metadata["com.apple.coreml.model.preview.type"] = "poseEstimation"
params_json = {"width_multiplier": 1.0, "output_stride": 16}
model.user_defined_metadata['com.apple.coreml.model.preview.params'] = json.dumps(params_json)
model.save("posenet_with_preview_type.mlmodel")
Open the Model in Xcode
Double-click the posenet_with_preview_type.mlmodel file in the Mac Finder to launch Xcode and open the model information pane:
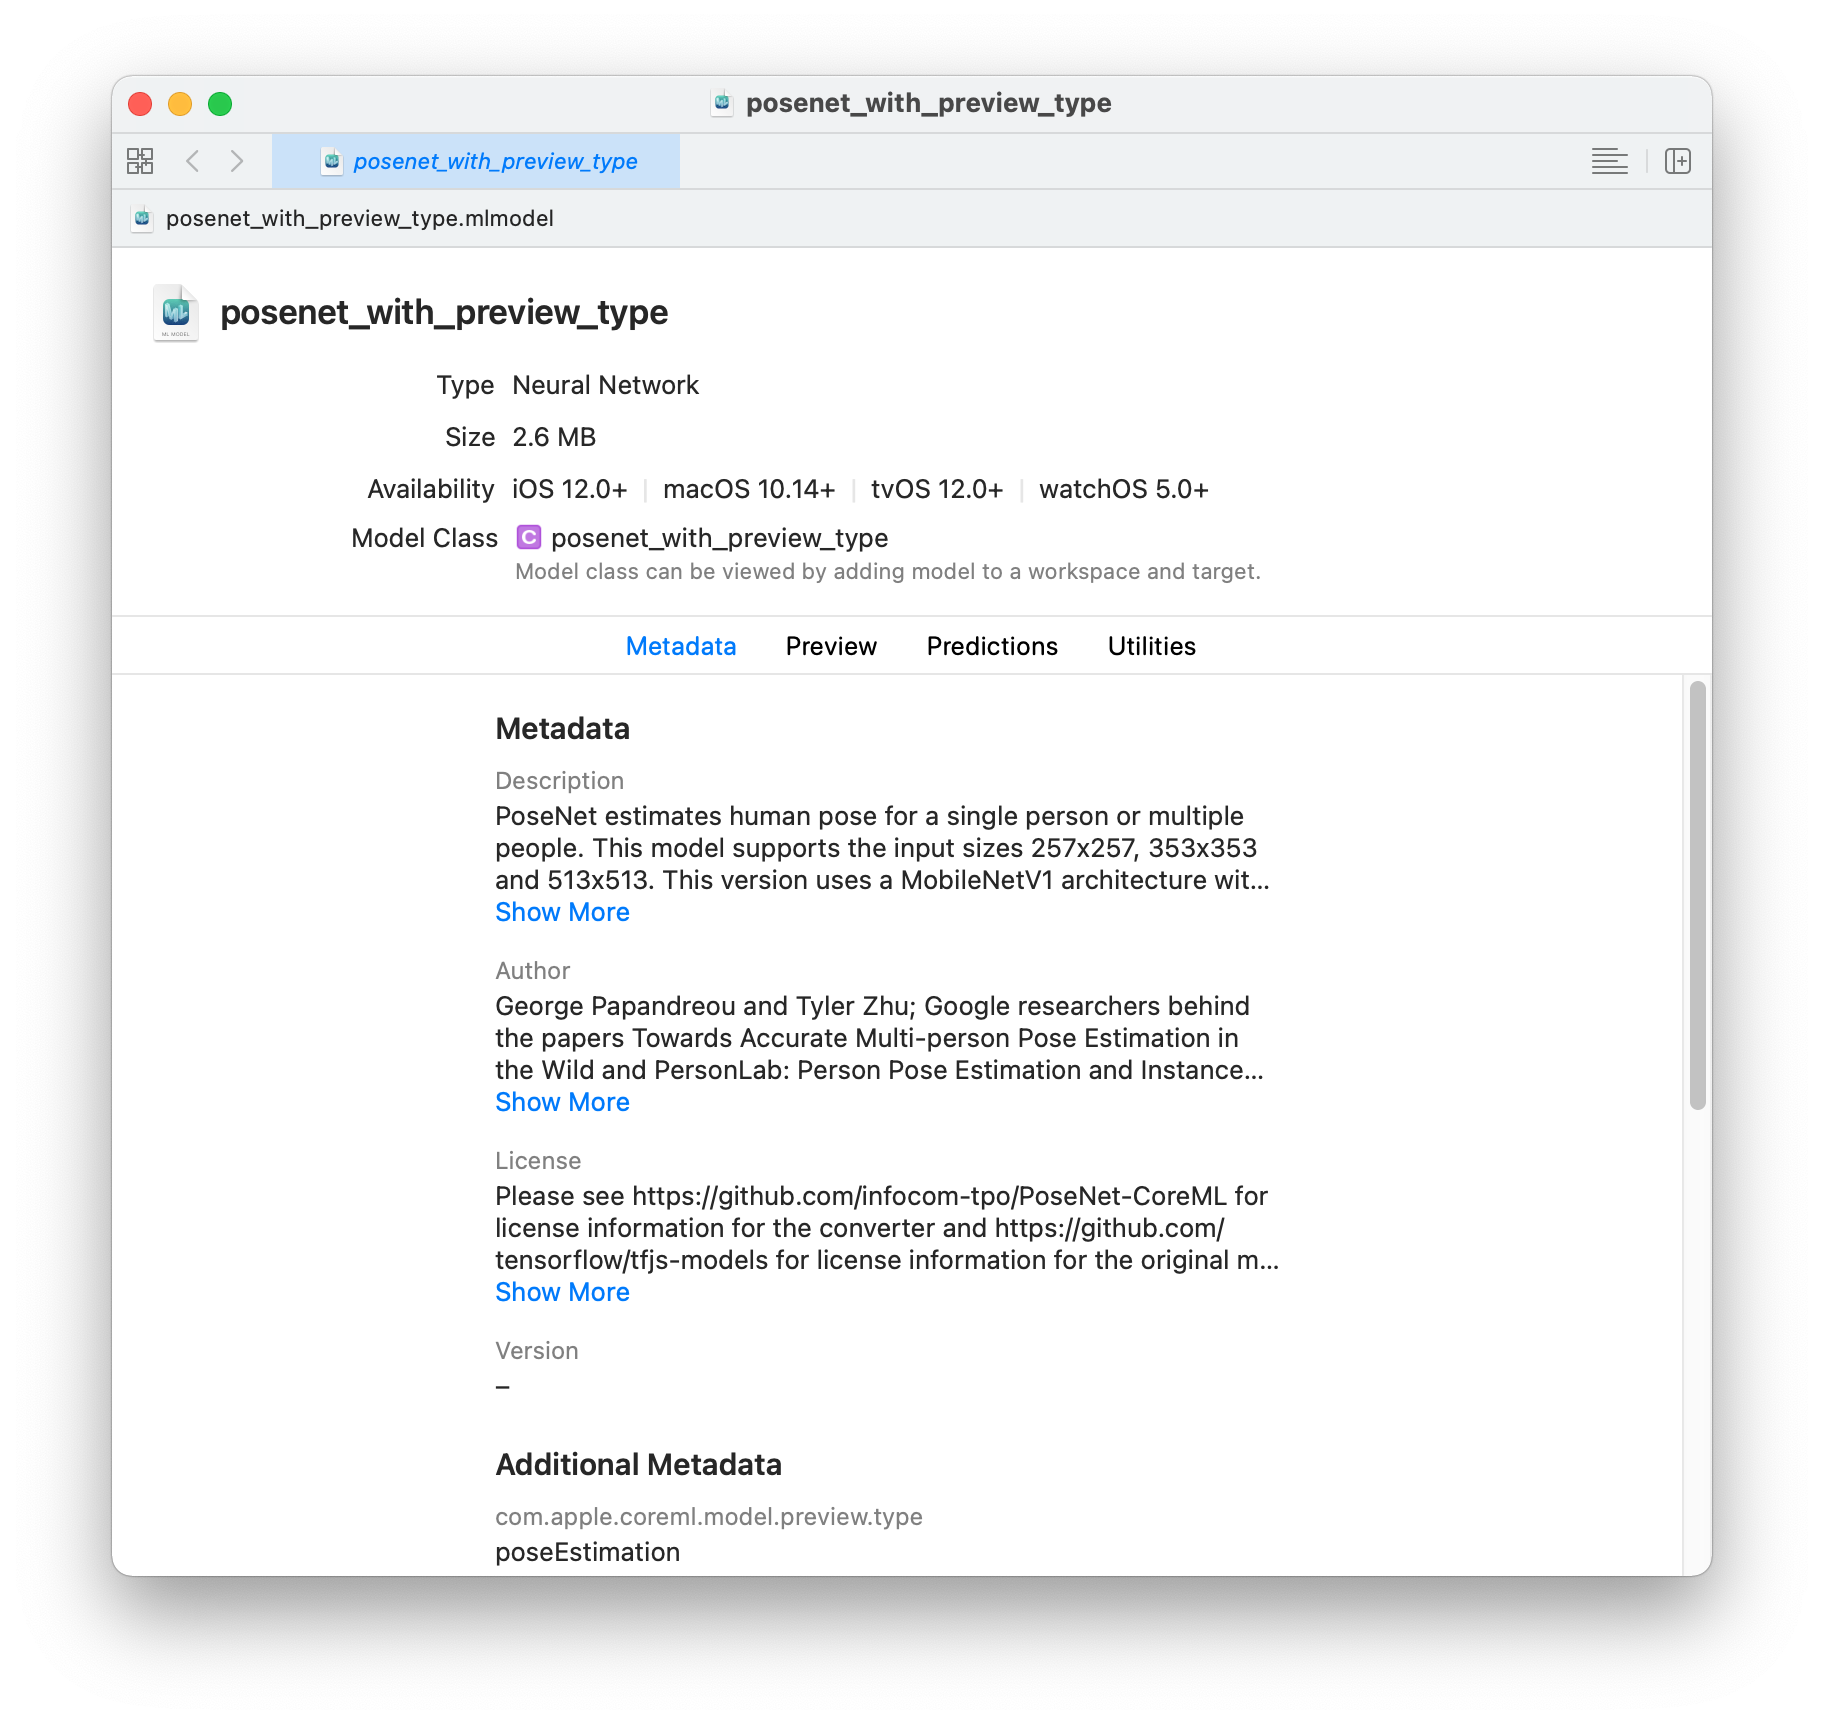
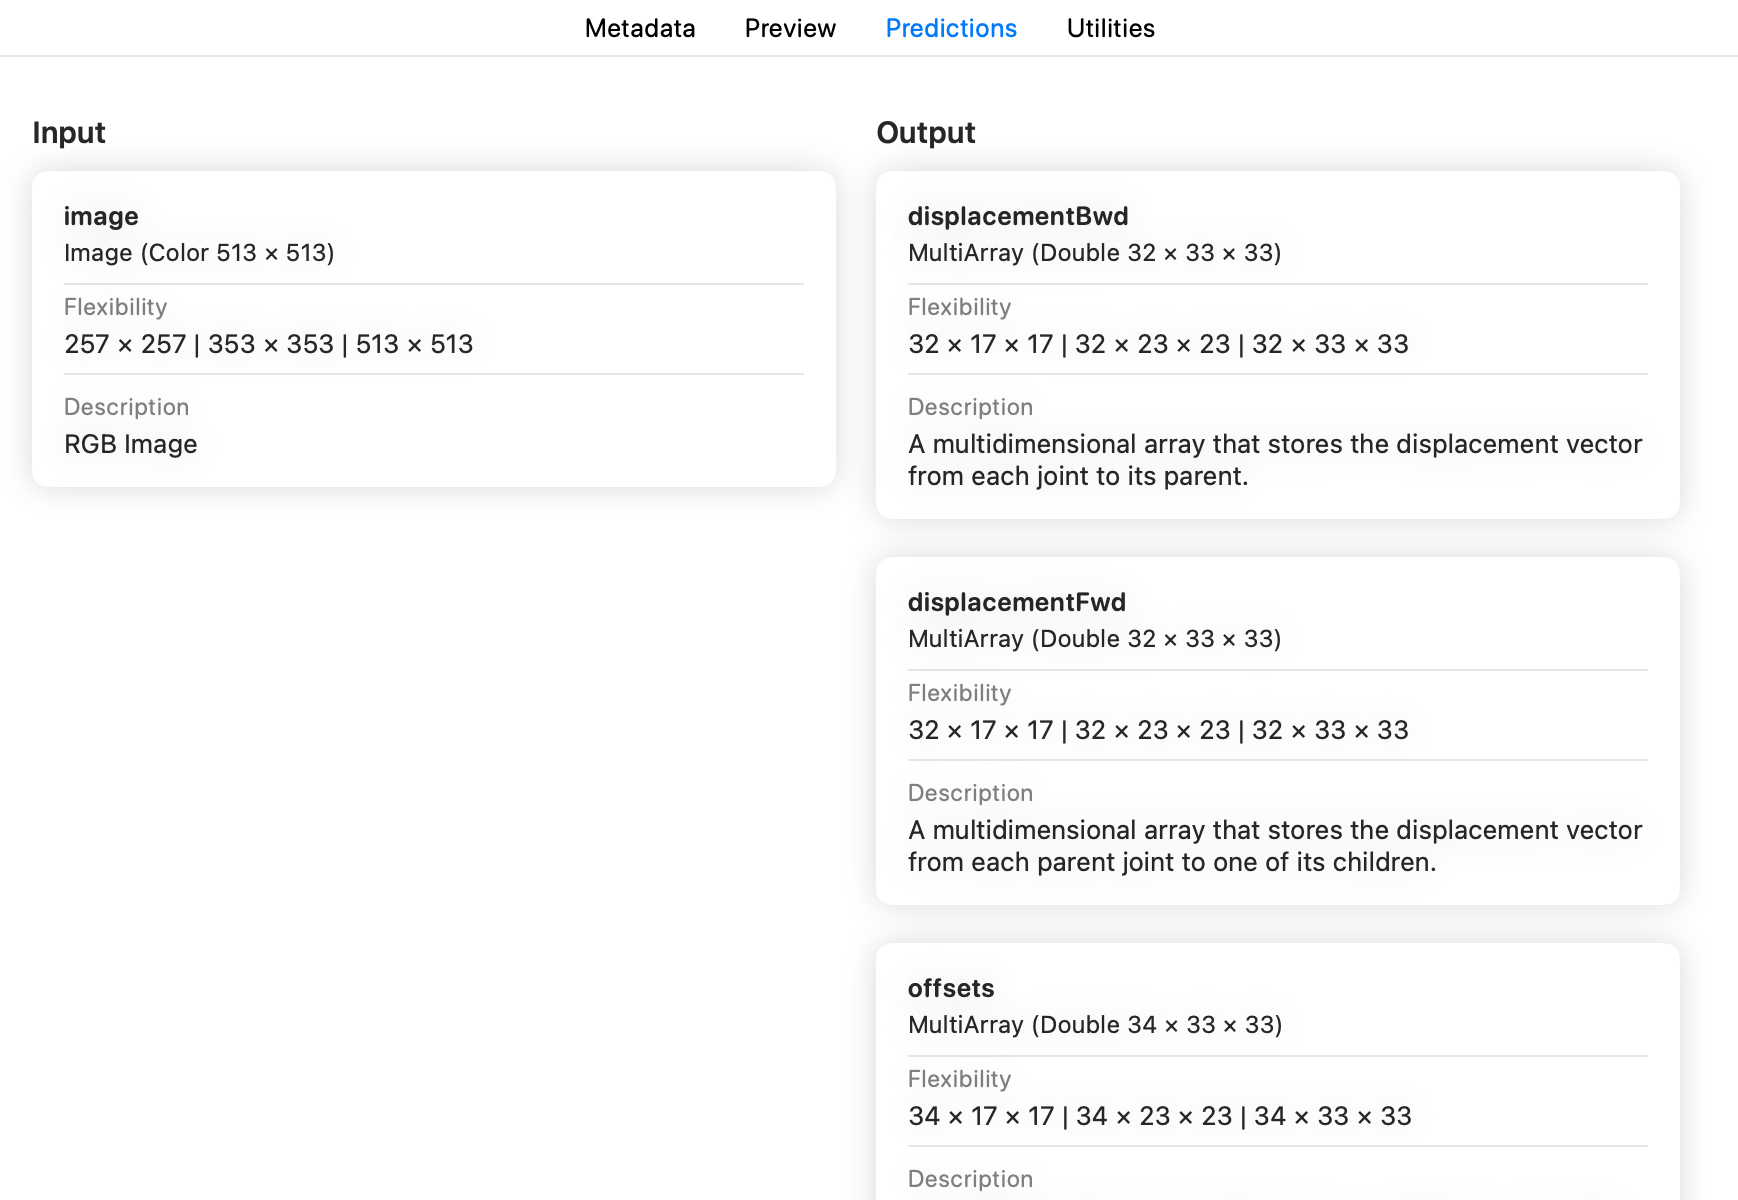
The PoseNet model for this example offers tabs for Metadata, Preview, Predictions, and Utilities. Click the Predictions tab to see the model’s input and output.
Preview the Model in Xcode
To preview the model's output for a given input, follow these steps using the following sample image:
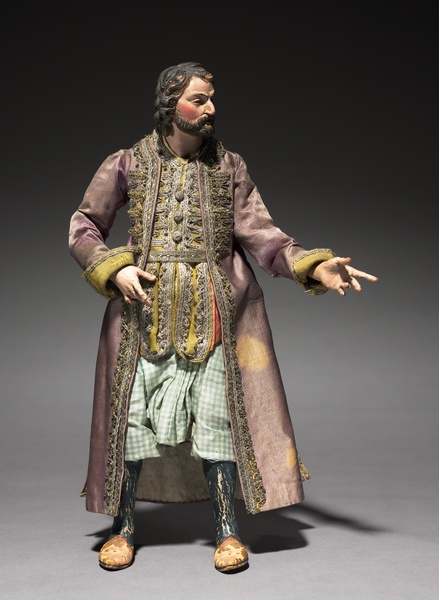
Right-click and choose Save Image to download this test image. ("Figure from a Crèche: Standing Man" is in the public domain, available from creativecommons.org.)
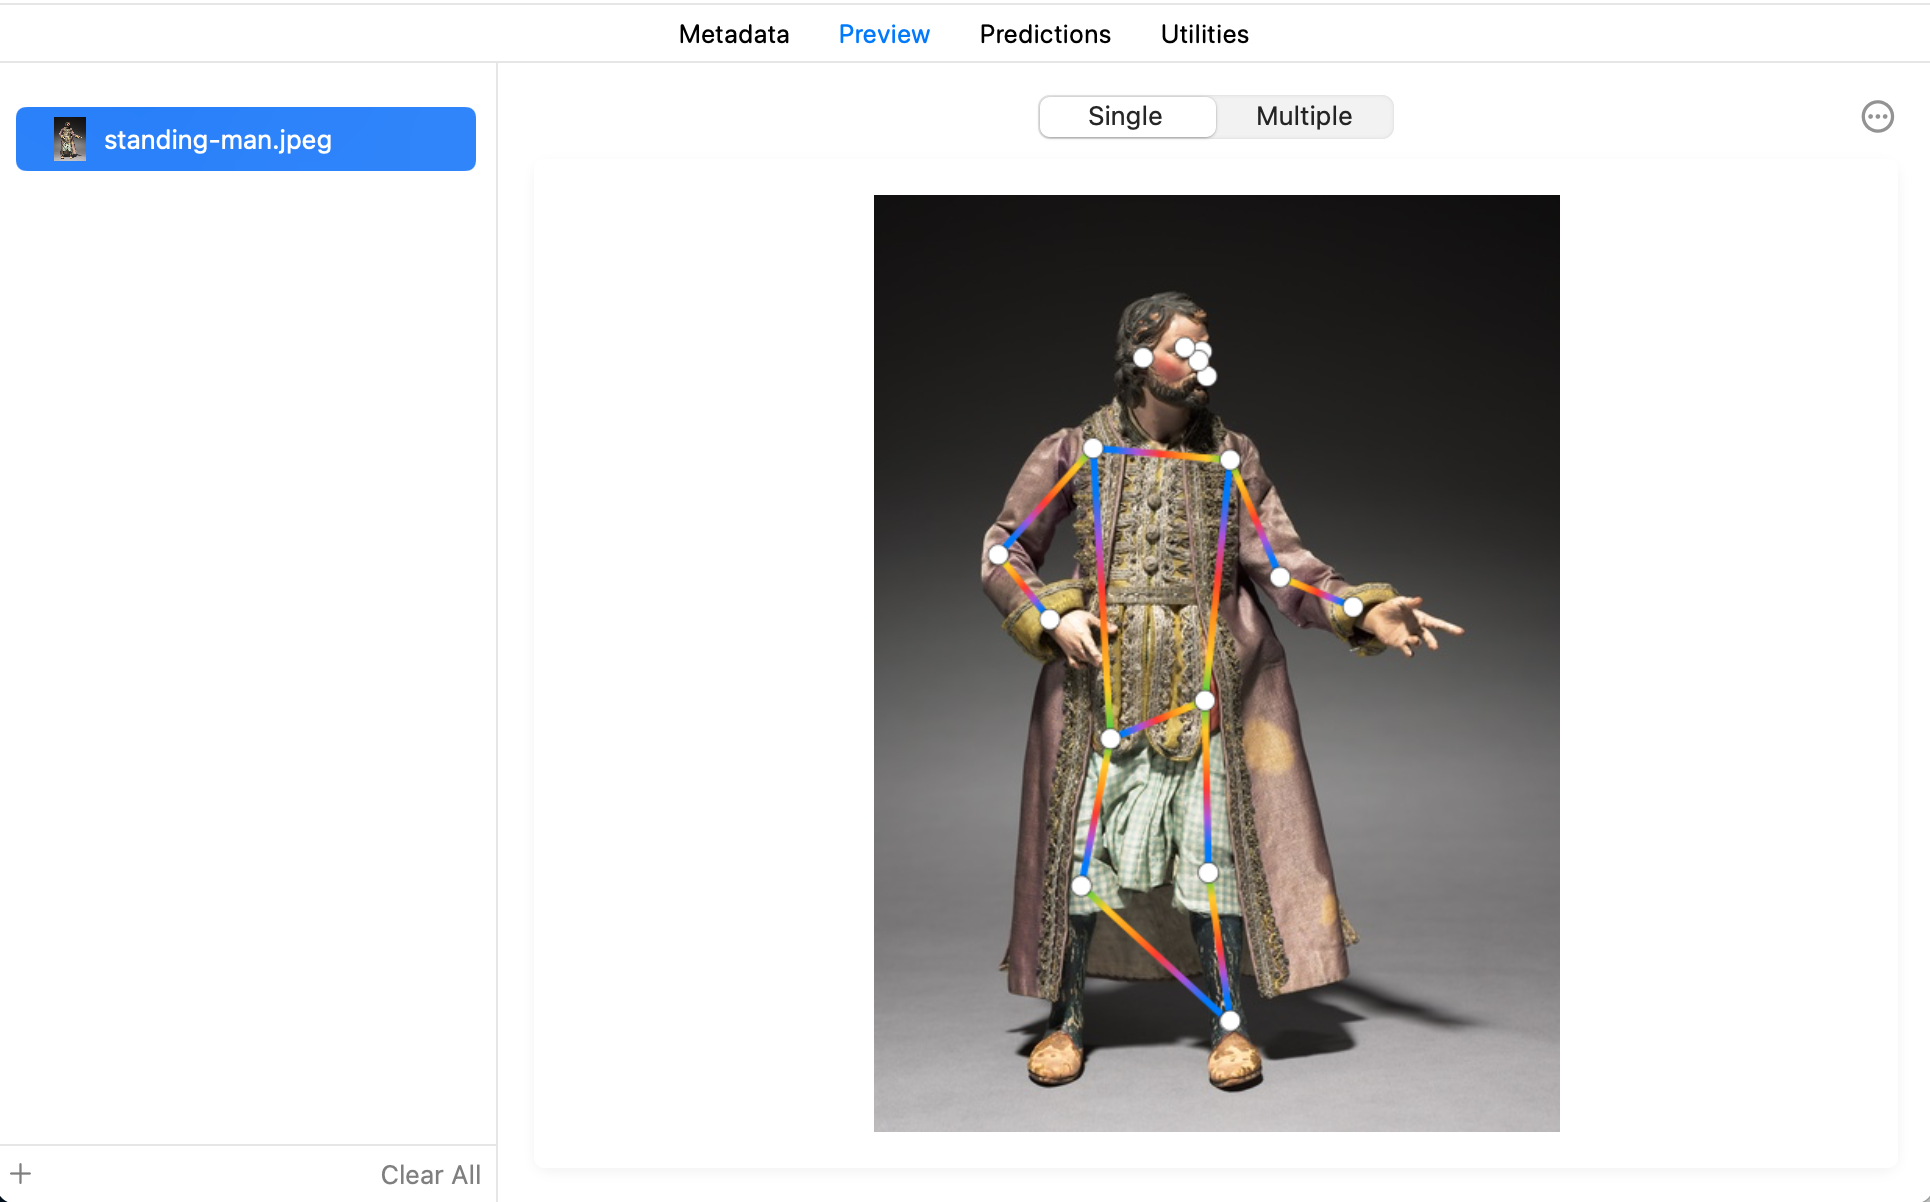
- Click the Preview tab.
- Drag the above image into the image well on the left side of the model preview.
- The result appears in the preview pane. It shows a single pose estimation (the key points of the body pose) under the Single tab, and estimates of multiple poses under the Multiple tab.
Updated over 3 years ago
